


The Evolution of the Ultralight Rifle Part 5: Gunsmithing
This article series follows my learning process as I set out to build the lightest hunting rifle I could without sacrificing accuracy.
Part 1 is an overview, Part 2 covers barrels, Part 3 discusses stocks, Part 4 covers actions, and now we’ll talk gunsmithing... the process of bringing all those components together. In every instance, this blog series only exists because of the industry professionals who’ve been generous with their time and answered my questions.
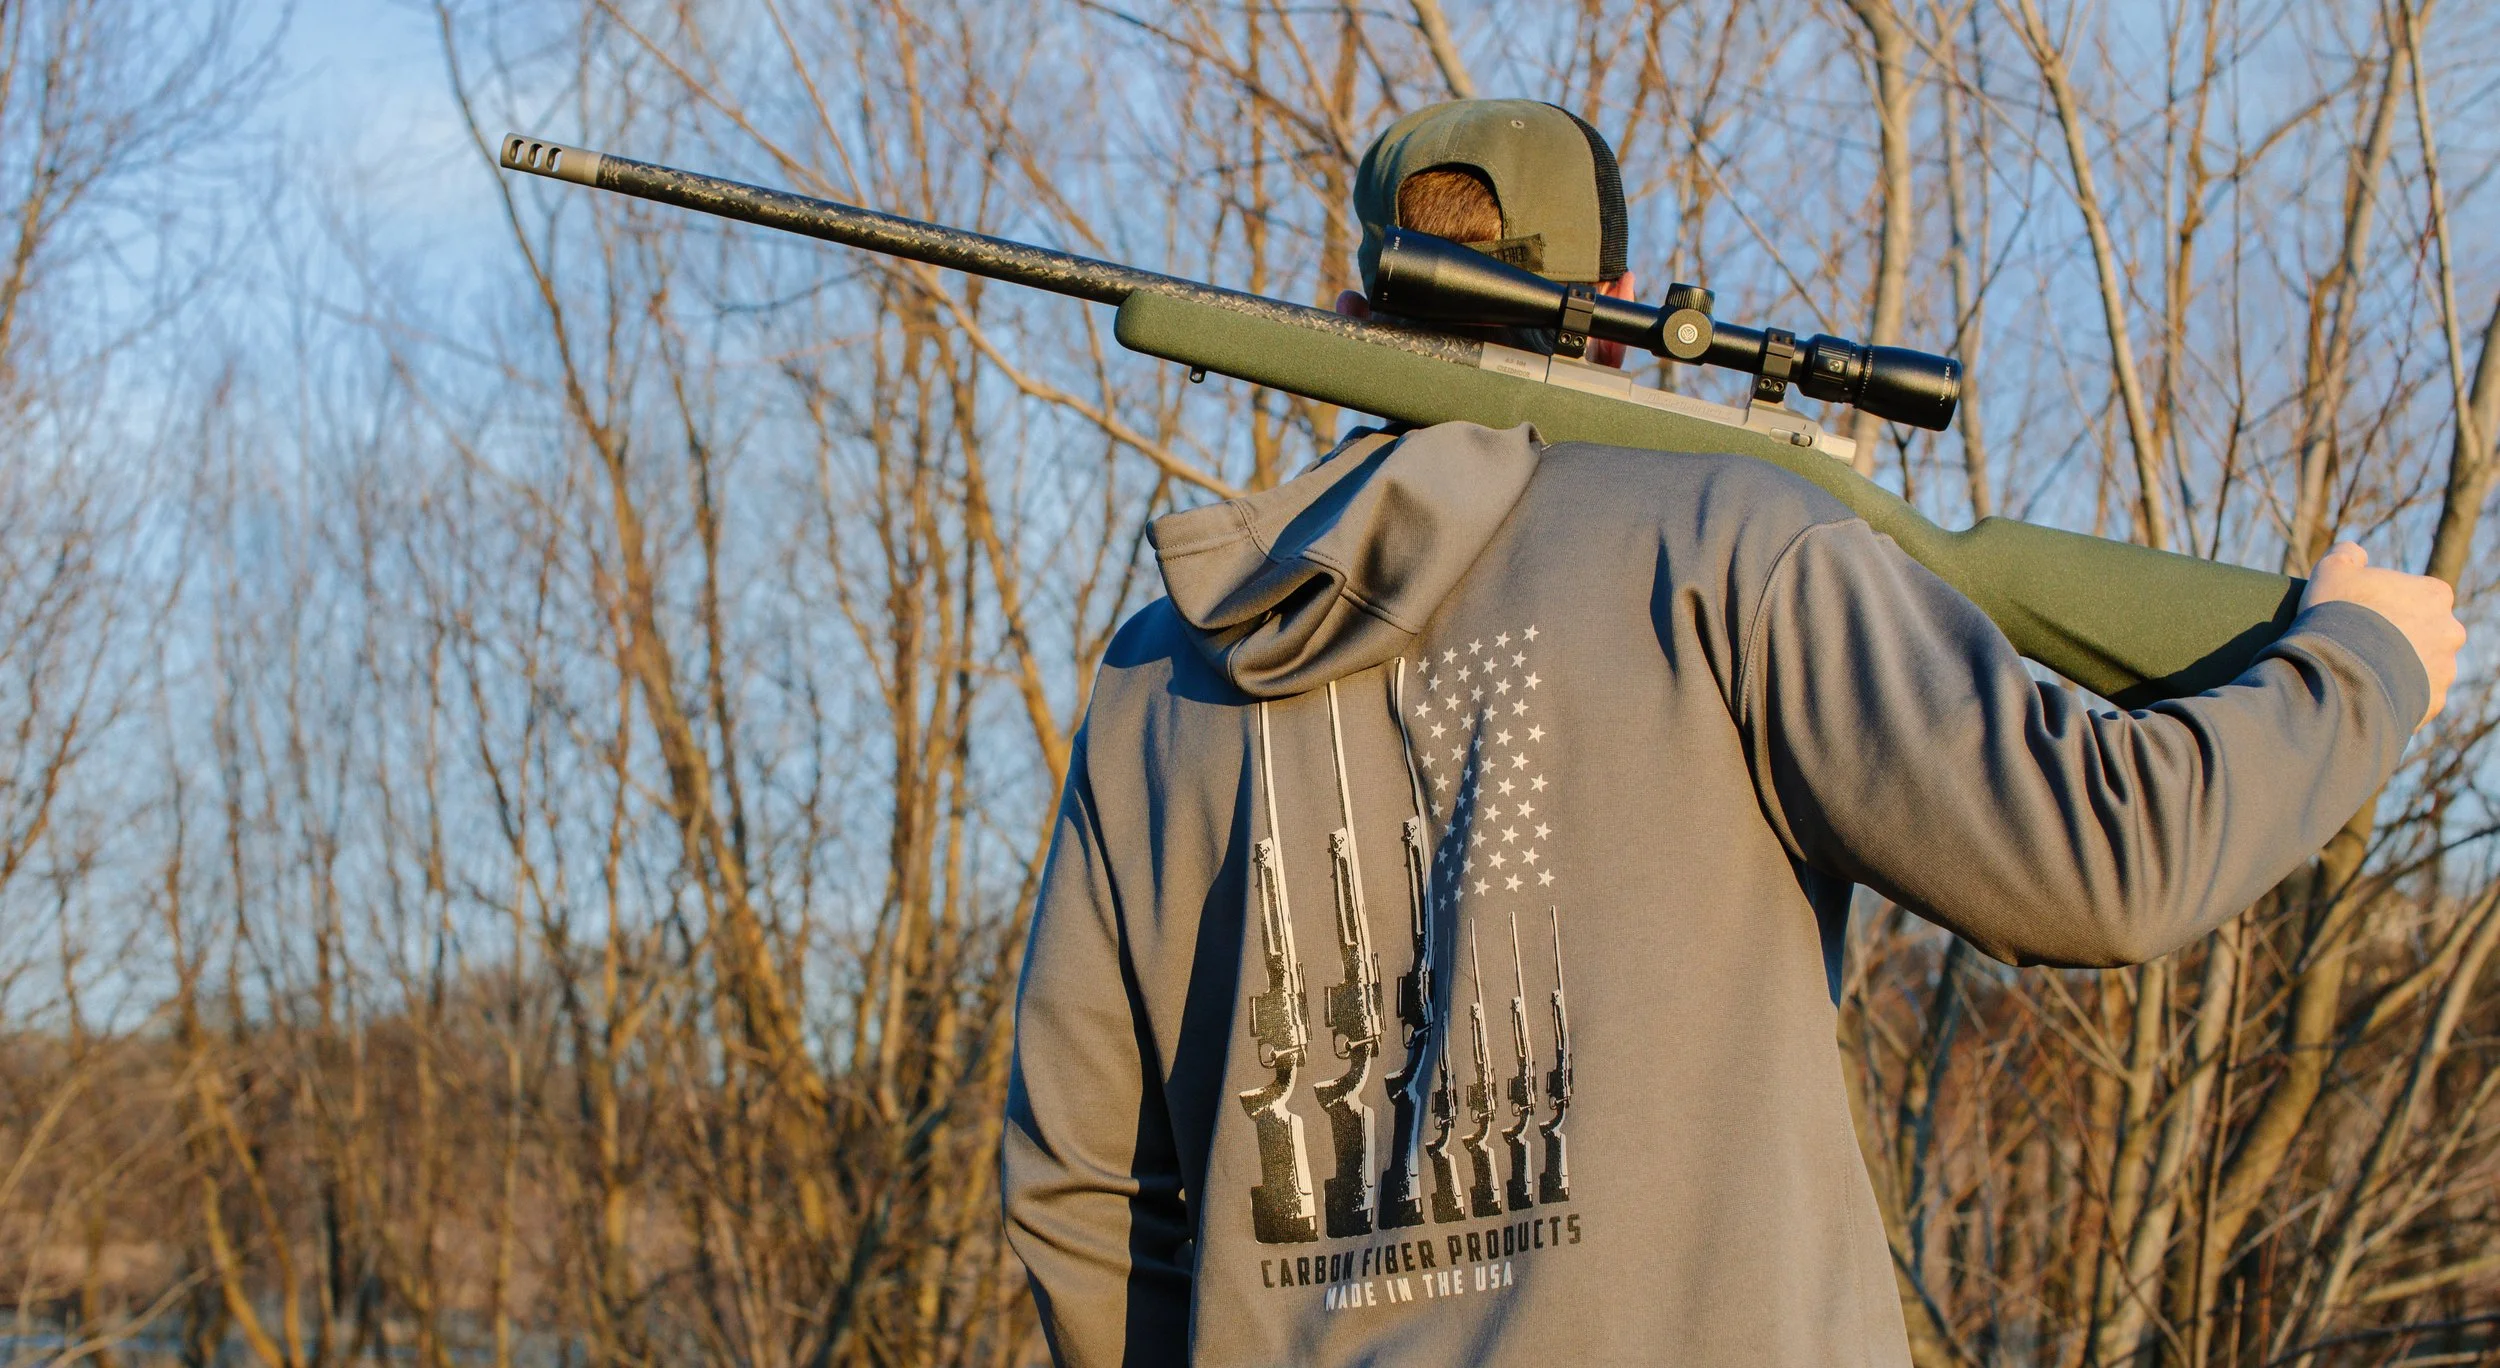
Rewind nearly a year. I had assembled what I consider to be a winning component list for my 300 WSM hunting rifle build: A carbon fiber-wrapped barrel from Proof Research, an ultralight custom action from Defiance Machine, a Vortex Razor HD-LH scope, a carbon fiber stock from Stocky’s Stocks - made by AG Composites – and a precision trigger from Trigger Tech. The final question was… who will assemble it all?
If you’ve considered having a custom rifle built, this isn’t a foreign question. Why gather up all the best parts money can buy only to have them assembled by a gunsmith that does sub-par work?
I met Eric Andersen, owner of Blue Mountain Precision, at the Western Hunting and Conservation Expo in Salt Lake City. We talked rifles, specifically lightweight rifles, for hours. I told him what I was looking to build, and the rest is history.
Well, not quite. The decision wasn’t that simple. He and I discussed the right, wrong, and OK ways to do all variety of processes involved with making a rifle shoot and cycle properly. Eric was a heavy equipment mechanic by trade, though he comes from a long line of machinists. Ultimately, following his passion, he became the understudy of one of the most accomplished benchrest gunsmiths in the country. But he’s been tinkering with rifle customization since he was 18.
He runs Blue Mountain Precision in Utah today, and has become an outstanding long range competitive shooter in his own right, winning the 2015 Huskemaw Challenge. This year, after adapting to the positional shooting challenges that PRS offers, Andersen has finished among the top 20 shooters five times out of his six matches.
Slow and meticulous was the name of the game when he was mentoring with the old gunsmith. That approach hasn’t changed, though much of the equipment he now uses has progressed substantially. Seeing to every minute detail, at every step of the process, is the difference between a decent rifle and a great one. While talking with Eric about this article, I asked him to break down the most important pieces of the puzzle, so that guys like you and I can understand what’s involved and hopefully make educated decisions when it comes time to pick a gunsmith.
According to Andersen, the main reason not every gunsmith can consistently turn out ¼-minute rifles is lack of education, use of inadequate barrels, and use of sub-par machinery. He also mentions that not enough people take load development seriously enough.
Muzzle devices, proper installation, and crown
Why would we start a conversation about accuracy with muzzle devices? Because even if everything else is done perfectly, an improperly crowned barrel or a poorly installed muzzle device can destroy groups.

Unified threads and a perfectly square shoulder, both on a muzzle device and on the muzzle itself, are critical to performance and repeatability
First and foremost, not all muzzle brakes are created equal. Neither are all crown jobs. The way that a projectile and the gas pushing it leave a bore are the final forces that a rifle will have on a bullet. If gas escapes from the bore in anything other than a perfectly symmetrical pattern, expect less-than-optimal accuracy.
“I like an 11° crown,” said Andersen. “It’s not the only crown that works, it’s just what I prefer. What’s important is that a crown be single-point cut to within .0001 inch of the bore. Even the slightest ding in a crown can throw you off immensely.”

Even the slightest blemish in a muzzle crown can seriously impact accuracy
The same goes for muzzle breaks. They must be manufactured to exact specifications. Ports, whether radial or horizontal, must be identical and symmetrical to produce even gas flow. Mass-produced brakes – much like mass produced barrels – can get out of spec. A good brake will have unified threads and be concentric to the bore when installed.
Installation of these devices must also be done carefully. Perfectly squaring the base of the brake to the shoulder of the muzzle is critical. All of this applies to suppressors, as well. But because suppressors are longer devices, the result of a poorly-installed suppressor can be even worse.
Trigger selection and installation
When Andersen selects a trigger, extreme attention is paid to the reputation of the manufacturer. Not only for the sake of accuracy, but safety as well. There are accurate triggers on the market that are notorious for problems in adverse field conditions. Slam fires, failure to fire and other malfunctions are not that uncommon in situations where dust, dirt and temperature fluctuations are a consideration.
Failure to fire and firing upon closure are personal sticking points for me because I had some major trigger problems on an Alaskan hunt in the past. First and foremost, I had a rifle fail to fire on a grizzly bear at 30 yards. Later that day, thoroughly shook from that little scare, I was tinkering with the unloaded rifle and found that it fired upon closing (with the safety off). Upon returning home, I threw away the existing trigger and had a Trigger Tech installed.
“Trigger Tech has become my trigger of choice, both in hunting and competition rifles,” said Andersen. “They pull as crisp as any other brand, but their internal mechanism is superior. The unique way the safety mechanism is built means it isn’t subject to many of the pitfalls seen with other top-shelf triggers.”
Trigger Tech is a young company that utilizes state-of-the-art methods and machinery. They also offer a variety of triggers for different applications. My hunting rifles are all outfitted with their Primary Trigger, and I’ve shot a friend’s heavy competition rifle equipped with the Diamond Trigger. The Diamond Trigger, I might add, is quickly becoming the benchmark for bolt action competition triggers. It will spoil you.

Trigger Tech's lineup of premium triggers are a phenomenal choice for any precision rifle
All of Trigger Tech’s models use a unique roller between the engagement, which offers true “zero-creep,” frictionless technology and also acts as a filter for any debris that might otherwise find its way into the mechanism. And, they feature a double safety. The mechanism is unique enough that the company holds a patent on the design.
Installing a trigger needs to be done carefully because different actions have different shear lengths, and a gunsmith may need to make adjustments accordingly. Although with a good trigger and a custom action, this is very rare. A telltale sign of an improperly adjusted trigger can be seen if too much of the cocking piece protrudes from the shroud when the rifle is cocked. If in doubt, have your rifle checked by a professional.
“A lot of people think light triggers aren’t safe,” said Andersen. “And they also think that light triggers (between 1-2 pound pull) aren’t necessary in hunting rifles. Both are false, given today’s technology. An unsafe trigger is unsafe at any weight. Yes, poorly designed and installed triggers do become even more dangerous at lighter weights. But a high-quality, properly-installed trigger is safe anywhere within its operating range.”
Andersen explained that trigger weight becomes an accuracy consideration in a lightweight hunting rifle even more than in a heavy competition rifle because, as the trigger is actuated, a heavy trigger pull will impact point of aim more than a light one. He’s not suggesting that hunters carry 6 ounce triggers in the field. Somewhere around 2 pounds is ideal.
Once you have a good trigger installed, Anderson suggests plenty of dry-fire practice. He dry fires two to three cycles per live round fired, and goes as far as dry firing his rifle in position before harvesting a big game animal.
Stocks
We won’t spend much time on stock selection specifically, simply because it was covered thoroughly in Part 3 of this article series, but it’s worth touching on.
A lightweight hunting stock should first and foremost be rigid and well manufactured. With the carbon fiber technology that’s on the market today, there’s no reason you can’t get a very rigid, super light stock. Be mindful of the style you want, and how high of a comb you prefer. Andersen suggests spending no less than $500 on a stock.
Good stocks don't come cheap, but they'll last a lifetime. This carbon fiber sporter model was made by AG Composites
Just as important as the stock you choose, if not more so, is how the gunsmith beds the stock and mates it to the rifle receiver.
Action bedding and stock modifications
There’s an art to modifying and bedding stocks. A gunsmith often needs to make modification to provide clearance for the trigger, bolt, mag well, and barrel if needed. Some of these may be invisible without pulling the receiver out of the stock, while others are obvious. It’s important to pick a smith who’s keen on both function and aesthetics.
A gunsmith needs to properly pillar-bed a stock if pillars don’t come installed from the factory. And on that note, all stock manufacturers worth their salt do offer factory pillar bedding, or high-density composite that’s just as good. It’s not uncommon, either, that pillars installed at the factory will need to be milled down before bedding can begin.

Many stocks will need minor milling work in order to provide ideal fit to the reciever before they can be bedded. This is especially true in the mag well area when ultra-mag calibers are used
Skim bedding is the next step in the process. This includes using a bedding compound that's applied to the action inlet and allowed to harden. Maintaining a stress-free environment throughout this process is extremely important. An action that is being acted upon by any stress is unlikely to produce optimal results. If you pull a rifle out of its stock and find that the bedding compound is inconsistent or touching the barrel, you may have an issue. There should be full, smooth contact with the entire bearing surface of the receiver, and only the receiver.

By using a bedding compound, a competent gunsmith can provide a perfect fit between the action and the stock
It’s worth noting that if you skim bed a laminated or wood stock without pillars, you’ll have a hard time maintaining zero. Moisture is your enemy here due to swelling of the wood, so if a composite stock is in your budget, use one. If you’re dead set on a wood stock, be sure to pay a knowledgeable smith to pillar bed it.
Properly milling the stock - whether within the action inlet to promote perfect bedding or inside the barrel channel - is something that a gunsmith must be capable of. This also goes for modifying the magazine box. Some rounds, especially short mags and ultra mags, are notorious for loading and cycling issues. A rifle that doesn’t cycle properly is a telltale sign of corners being cut.
Optic mounting
Again, we won’t cover this in detail here. I leave out optic mounting because I’ll soon be writing an article in collaboration with the fine folks at Vortex Optics, but suffice to say that you can’t simply throw a scope on a gun. Avoiding stresses on the rifle receiver and the scope itself are critical. So is making sure the optic is actually level to the rifle. Some rings may need to be lapped, too. Pick a gunsmith who’s able to do this in his sleep.

Andersen laps a set of scope rings
Chambering
A good chamber job is just as important, but harder to execute, than a muzzle crown. There are two ways to chamber a barrel: the old way and the new way.
“The old way to chamber a barrel - though still in use by plenty of rifle builders – is to chamber a barrel off the centers of the breech and the muzzle,” explained Andersen. “The issue with this method is that you’re not eliminating the curvature of the bore from the equation.”
Custom barrels are less likely to have a significant curve, but it’s an inescapable truth that at a microscopic level, many of the best barrels in the world still have some level of curvature.
“The new method is to do all your indicating in the barrel off the breech end getting angular/rotation run out to less than .0001," explained Andersen. “This ensures that the bullet enters the rifling square to the bore. The old method can severely jar the bullet jacket as it meets the lands. Long range accuracy is increased with straight and true bores that don’t distort bullet jacketing and design. So, before you hire a smith, ask them how they chamber their barrels.”
Avoiding reamer chatter is also critical, and it’s not something that everyone knows how to do. Some smiths don’t even know that this can occur. Reamer chatter is the very subtle inconsistencies of the reamer’s movement as it cuts away bore material. The reamer can actually “jump” as much as thousandths of an inch, producing inconsistencies in the finished chamber. Chatter has ruined many good barrels.
This can result from tool flex, misalignment of the reamer, or the use of poorly built reamers that cut unevenly. Using a cushioning material and sharp, well-built reamers helps immensely, but the pressure applied to the reamer and the speed at which it turns are critical as well.
For chambering in general, Andersen says that concentricity is key. He constantly checks concentricity with a bore scope and a .0001 indicator. He also uses a “flush” or “wet” reaming system. By continuously flushing the bore with low-friction oil, he’s able to flush loose material from the bore and keep from overloading the reamer with metal chips. When finished, he checks the chamber again, ensuring that all cuts are perfectly square to the bore.

Andersen uses a wet reaming system to flush metal chips away from the reamer's cutting surface
Barrel contours
The contour of a barrel has little or nothing to do with the gunsmith you select to build your rifle, but it does impact its performance.
“Most people don’t put enough emphasis on barrel contour,” said Andersen. “You need the right amount of barrel mass, in the right places, to minimize harmonics. This is the main reason for carbon fiber wrapped barrels… to increase the rigidity of a barrel without adding weight.”
In Andersen’s experience, straight tapered contours dampen the harmonics as much as possible. M24, MTU and Palma contours are all great choices for heavy competition rifles, as are the carbon contours that emulate them in the case of a lightweight gun. Also, it’s better to avoid short-shank barrels, or cutting off barrel shank.
In summation, be diligent in selecting your gunsmith. Ask for references, ask intelligent questions based on the information above, and ask to see finished rifles. If you’re looking to build or buy a custom rifle, you’ll be allocating a good amount of money. Be sure it’s well spent.
Give us a follow on Instagram (@TransientOutdoorsman) and Twitter (@TransientOutdrs)

The author's 2017 arctic grizzly bear with a custom built 300 WSM built by Blue Mountain Precision
# # #

